Saturday, November 29, 2014

Crayon Scratch Art Christmas Tree Craft


My younger girls had so much fun making the scratch art ornaments, that they wanted to do more right away.

I gave them another sheet of cardboard (this time blank on both sides) and had them color it (on both sides) with a starburst rainbow pattern, being careful not to allow any of the cardboard to show above a line I had drawn for them, an inch from the bottom of the sheet.


Then, they colored over the rainbow pattern with a green crayon.  Green does not block out the colors underneath as well as black, but they did their best to get it all covered up.


We cut out Christmas tree shapes (with the blank cardboard at the bottom for trunks)...


...and they went to town scraping out designs.


They had such a good time, in fact, that once they had finished decorating their trees, front and back, they decorated the all scraps...


...leftover from cutting out the trees, as well.

Friday, November 28, 2014

Homemade, Crayon Scratch, Mini Chalk Board, Christmas Ornaments


Each year the children like to make a special ornament for the tree.  We generally aim for something that is unique to them, or something that reflects a particular interest of theirs for the year. 

This year, I decided to go simple - a crayons, cardboard, and craft stick kind of simple.  While cleaning up the breakfast table this morning, I decided on a whim, to cut a Pop-Tart box into small rectangles, with tiny slate-type chalkboards in mind (having a high school graduate in the house has had me thinking along nostalgic, old fashioned, school kind of themes).


I colored each of the rectangles, thoroughly, with a white crayon, and then covered the white with a thick layer of black crayon.  Then, I tested to see if they'd work for scratch art, by scraping off a message with the sharp end of a wooden skewer.


It seemed to work, so I gave each child two of the rectangles, and had them use the skewer to write their cursive signatures on one, and "2014" on the other.  We glued the two together, so their names were on the fronts, and the year on the backs of the slates.  We protected them, by "sealing" them between sheets of clear contact paper (basically laminating them).

I cut/broke craft sticks for the children to glue around the edges as frames (held in place with clothes pins, until they were dry).


Finally, when they were dry, we removed the clothes pins and tied on a piece of twine, for hanging.


Now, I have a simple sample of their handwriting, their signatures, as they are this year, this moment in time, to go along with all the hand print, footprint, and photo ornaments from the past.


It's great to be a homeschooler.

Tuesday, November 25, 2014

Big Hero 6 Inspired Vibrot Battle-Bots


We caught a super-discount matinee showing of Disney's Big Hero 6 (an exciting and necessary occurrence when you're buying eight tickets at a time).   We enjoyed the movie.  The story is a little predictable (nice for the younger children), but strange at the same time, with its Disney/Marvel Comic/anime combination (nice for the teens), and it's filled from start to finish with science projects (a stem teacher's dream). 

I came home all pumped up, and ready to lay out at least a week's worth of follow up projects.  First off, I checked out the movie website to see if Disney was offering any good "ready made" ideas.  They do have a few printable, science themed, go-along sheets for the movie, but while they'd done a good job linking old kid-science ideas to the movie's characters...
...they were all kind of been-there-and-done experiments for us.  I checked Amazon too, hoping against hope, that Disney was marketing some kind of robotics kit, or magnetic science set, but they weren't (note to the Disney marketing staff - you missed a golden opportunity on that one).

So instead, I made a quick run to Radio Shack for a few extra hobby motors (they price between $3.00 and $6.00 a piece - so not bad, really), and raided our old science kits, and craft cupboard for whatever interesting bits and bobs I could find for robot building...


...or rather, vibrot building - robotics being a tad advanced for an afternoon, during Thanksgiving week, project.  Instead, I built a prototype based on the Exploratorium's scribblebot (click the link for instructions)...


...with a hobby motor, offset by a clothespin (to make it vibrate)...


...attached to the top of a paper cup, with craft stick legs (in place of the marker legs of the scribblebot)...


 ...with alligator clip wires running from the motor to a AA battery, taped to a craft stick, with an on/off button created by covering the ends of the battery with tinfoil (scrunched up at the edges to make posts for attaching the alligator clips) covered in clear tape (to protect fingers)...


...so that when the tape is pressed, the tinfoil touches the battery, completing the circuit...


...causing the offset motor to spin...


...and vibrate...


...and slowly "walk" the vibrot...


...across the table.


After seeing me playing with (or demonstrating, as I like to call it) my creation, the children were ready to design their own vibrots. 


Which, of course, they used as battle bots, as soon as they had them working (thanks to the battle bot scenes from the movie).


At that point, I moved the action to the floor to save what's left of our tabletop.


There was some talk about adding balloons and needles to the bots (the bot popping the others' balloons would be the winner), or open markers (the most marked up bot would be the loser), but in the end...


...it was decided that the bots could just bump into each other, until they were all knocked over, or disabled...


...with the last bot standing (and still running) declared...


...the winner.

It's great to be a homeschooler.

Saturday, November 22, 2014

Unschooling Science - Rainbow, Birthday Candle, Emission Spectra


Science is one of the subjects we pretty much completely unschool.  We have a few science textbooks, and on occasion we read through them, just to be able to say we've "done science", but for the most part our science lessons and projects rise out of the moment.  Like, for instance, this weekend, when I spotted the package of ColorMagic colored flame candles, while shopping for supplies for yet another birthday party.

I tossed them in the cart, not for the party, but for a science experiment.  I wasn't really sure what sort of experiment, but I know enough about chemistry to know colored flames means burning different sorts of chemicals - and that reminded me vaguely of high school chemistry flame tests.

Flame tests were fun, but not something I've wanted to try out in our kitchen.  Check out this Sci Guys video, if you're not sure why not.  Something about burning toxic chemicals, and reactions hot enough to melt tables...and my own knowledge that I know just enough about chemistry to be really dangerous...and...well, you see.  But, birthday candles?  I can handle birthday candles. 

All I had to do was to figure out how to work them into a science lesson.

My first thought was to search for a "How It's Made" type of video for the candles, that would neatly, and quickly explain the science behind the candles - because it was a birthday weekend, and we were busy already.  Unfortunately, I didn't find one.  But, what I did find was a YouTuber discussing the candles, and how looking through a spectroscope confirmed his suspicions, that at least one of the candles was burning some sort of sodium compound.  Which brought me back to thinking about flame tests.

So, I built a very quick spectroscope, to test out if that would work with the candles, by cutting holes in the top and bottom lids of an empty cereal box, opposite each other, and covering one with a diffraction grating...


...or in this case, one the rainbow viewers from the top of a tube of last summer's Grab-A-Bubbles...


...and a couple of strips of tinfoil (it's supposed to be razor blades, but I didn't have any on hand), to form a slit over the hole on the other side, and sealing up any cracks that might let light in to the box with duct tape.  It was just coincidental, though appropriate that the only duct tape I could find was rainbow patterned...


...because when you aim the slit at a light source, like a window during the day, and look through the lens side, you see the emission spectrum (or rainbow) created by that light. A continuous spectrum from sunlight (where all the colors run into each other) because sunlight contains all the visible wavelengths of light (or something like that)...


...and a discontinuous spectrum for something like a compact fluorescent lamp (or light bulb), where the colors have gaps between them, because the bulb isn't emitting all the wavelengths of light...


...unlike LED light, that is much closer to natural sunlight.


While the children were busy looking through the spectroscope at the windows and light fixtures in the house, I was Googling and perusing high school texts (like this one, from WikiBooks), so I could throw words like continuous and discontinuous spectral emissions out, and sound like I knew what I was talking about.

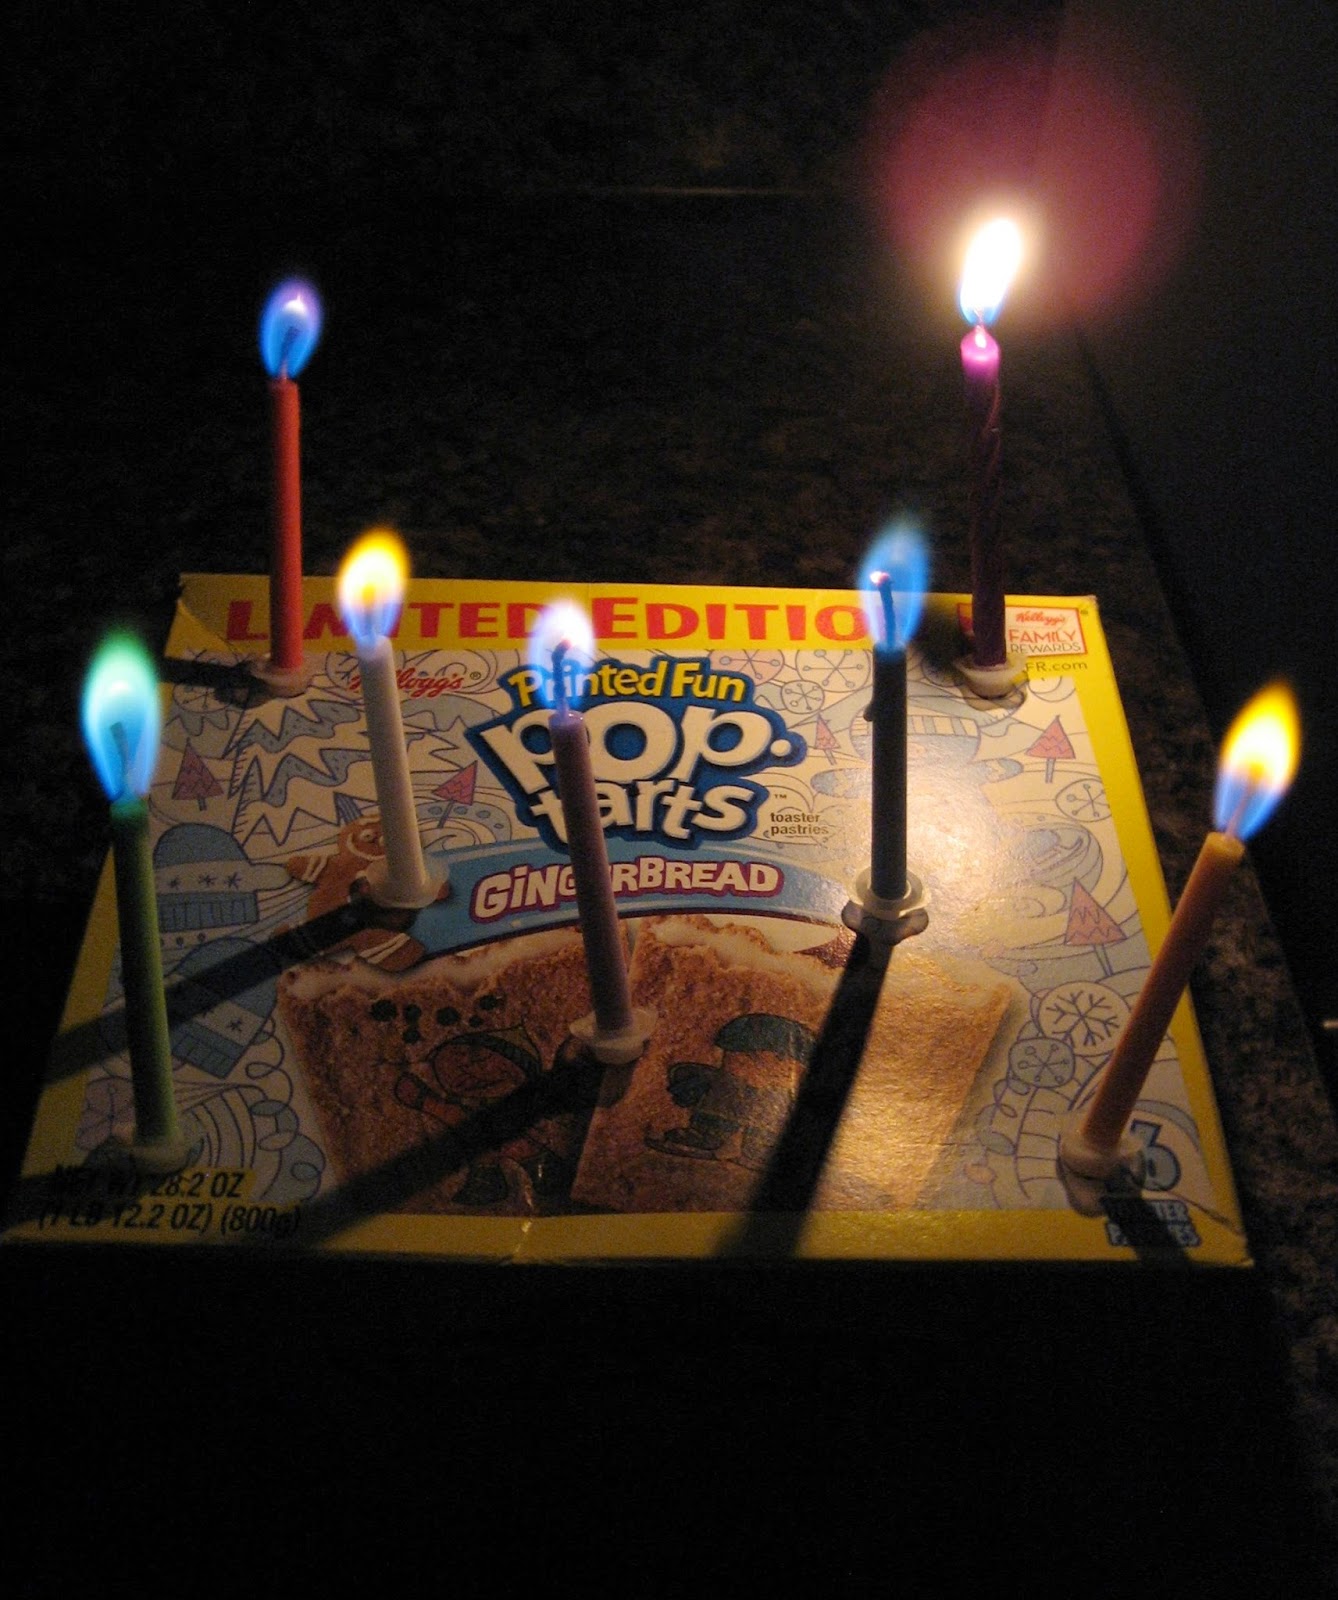
Then I set up the candles...


...for the children to look at through the spectroscope and study.


Each burning chemical produces a different spectral emission (like a fingerprint).  It's one of the ways scientists can look at distant stars, and know from what sort of gases they are formed.

Burning different chemicals also produces different colored flames.  So, we looked up which chemicals produce the colors of flames we had, and then looked up the emission spectra for those chemicals, and compared that with what we saw when we were looking through our spectroscope.


A red flame (or pink) can be produced by burning lithium or strontium chloride.  Here is an official emission spectrum for lithium, pulled from Google images (sorry, but I had trouble finding the actual source)...


...and here is a dim (taking pictures of the inside of a cereal box is not always easy) picture of what we saw when looking at the red flame through our spectroscope.  What we actually saw was a lot brighter and more impressive, but even here you can see the similarities.


Sodium chloride creates a yellow flame.  The emission spectrum for sodium looks something like this...


..which our image did not match completely.  We were seeing more blue.


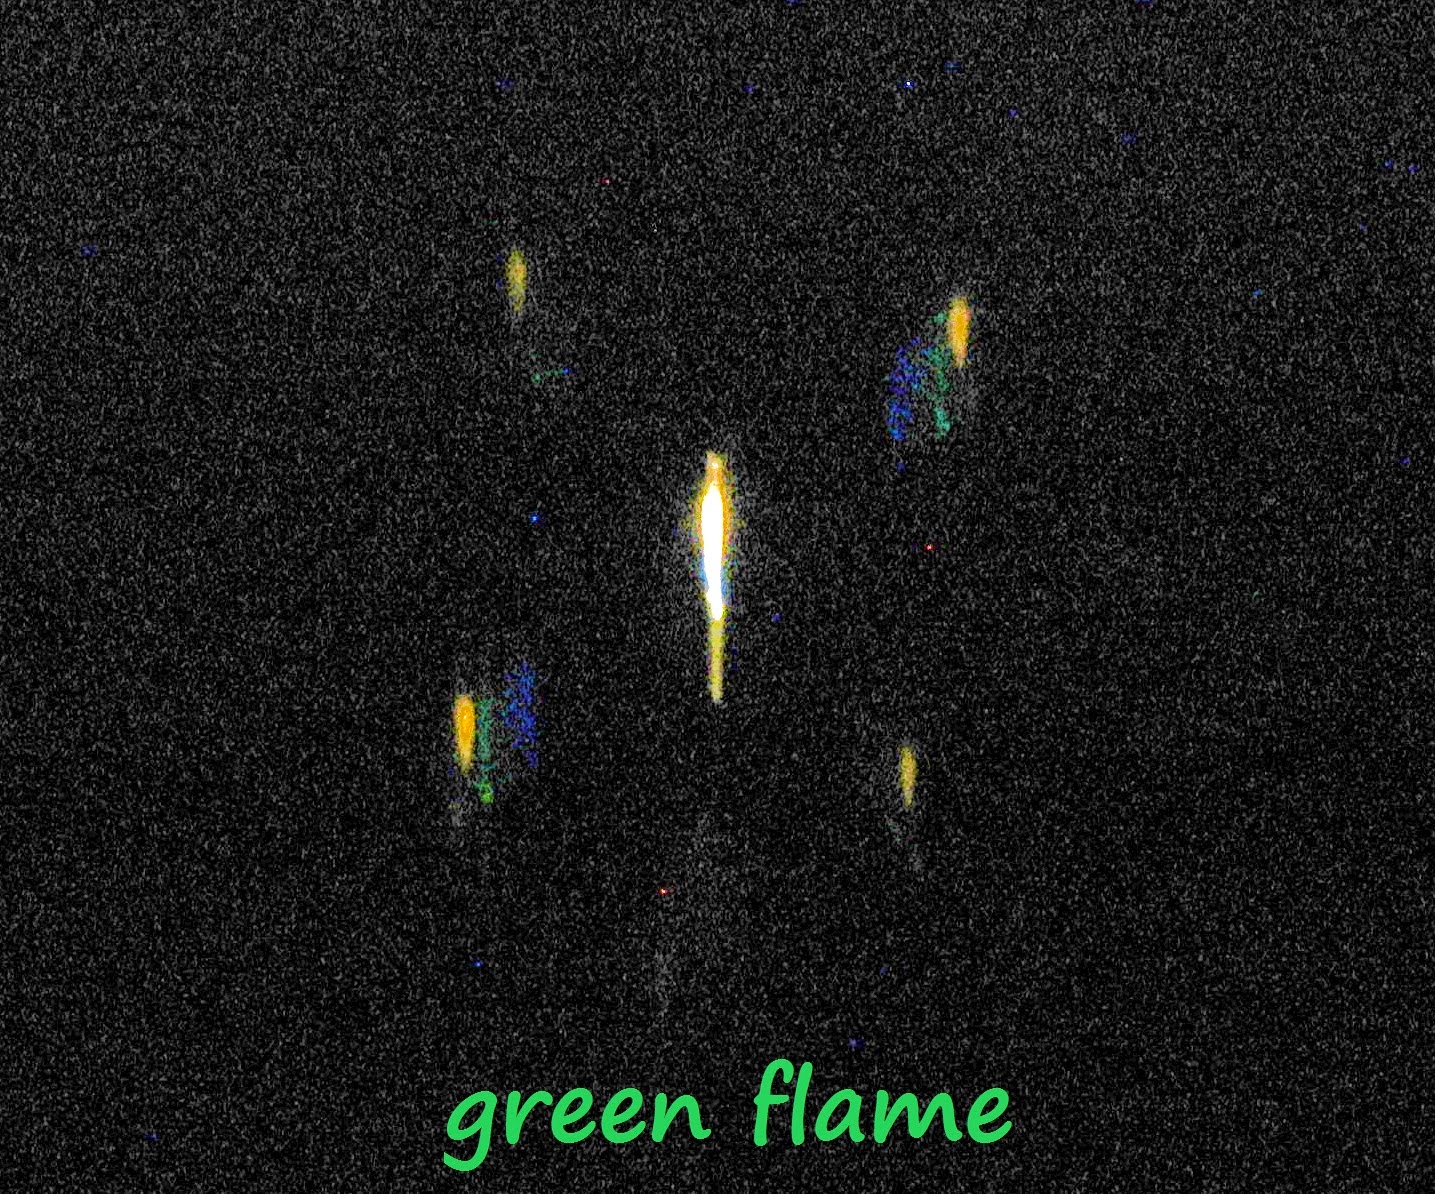
A green flame can be produced by burning cupric sulfate.  The emission spectrum for copper looks like...


...which wasn't far from what we saw.


Potassium chloride produces a purple flame.  The emission spectrum for potassium...


...shows more red than we were seeing.

A blue flame can be produced by burning cupric chloride.   The emission spectrum for copper looks like this...


...and what we saw is below.


After I posted all of these, I found a really good list of flame colors, chemicals, and emission spectra all in one place - here, so we might have to go back through them all.  At any rate, it was an interesting bit of supermarket science, with lots of follow-up potential if anyone ends up being interested.  As is usual for us though, we've already bounced on through several other life-related topics, and have dismantled our spectroscope until the topic comes around again.

As for the spectroscope, if you don't have a rainbow viewer, or diffraction grating handy, you can make a slightly more complicated version using a CD (sci-toys.com has easy to follow instructions for both types). 

It's great to be a homeschooler.